
How To Create a New Profile
This screen is used to add, modify and delete Email Notification Profiles used to automate sending emails to employees and copying email addresses set up for Union Reps and Supervisors
Use the following steps to Create a New Profile:
1. Click on Staffing.
2. Click on Email Notifications
3. Click the Find button at top of the menu bar to see all current Records in the database.
![]()
4. If K212 HRP dialog box displays, click Yes to continue.
.png)
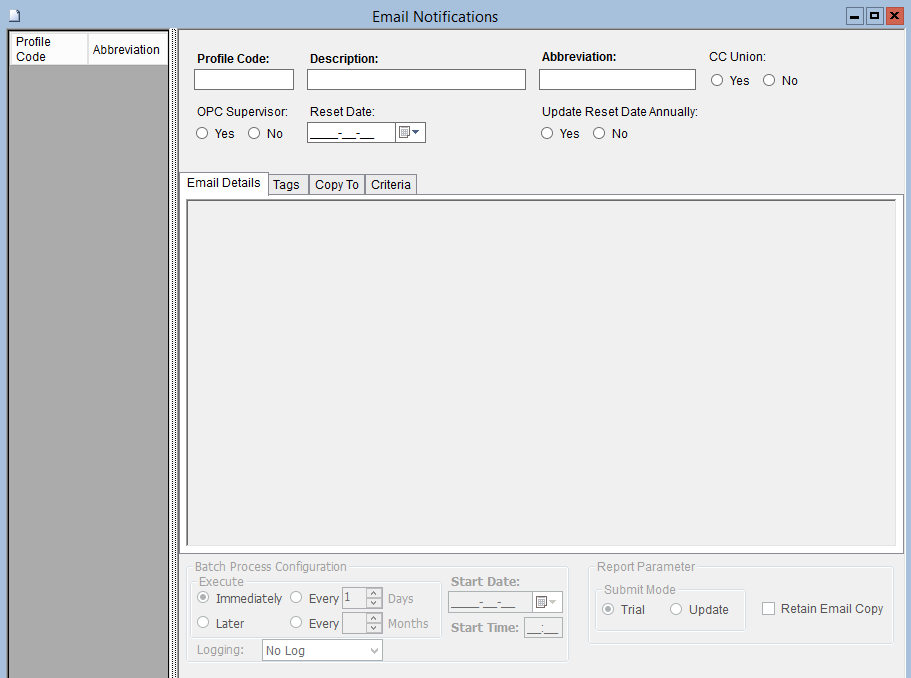
5. Click the New button at the top of the menu bar to clear fields and add a new record
![]()
6. Enter a valid Profile Code (i.e L1).
Note: The value entered in this field must be unique when adding a new record.
7. Enter a unique Description for the Profile Code (i.e Email for all Supervisors).
Note: The description entered will be used as the Subject Line of the email.
8. Enter a unique Abbreviation for the Profile Code (i.e Supervisors Email List).
9. Select a CC Union value (i.e N) (if applicable)
This will look up Union code in the Union Translation table and if an email address exists, it will copy that email address during distribution. The union rep’s email address will not show up in the retained copy of the email. It is suggested that you add text to the email body content to indicate that the employee’s current union representative has been copied on the email.
10. Select an OPC Supervisor value (i.e N) (if applicable)
This will look up the supervisor through OPC and if an email address exists, it will copy that email address during distribution. You must be using OPC for this to work. OPC Supervisor’s email address will not show up in the retained copy of the email. It is suggested that you add text to the email body content to indicate that the employee’s current supervisor has been copied on the email.
11. Click the Reset Date drop-down menu to select an option. (i.e Date) (if applicable)
Identifies the date on which the profile should be reset so that employees who meet the profile criteria are emailed again. When the profile is run on or after the reset date, it will reset the indicator on the EC_EMPLOYEE_EMAIL table for EMAIL_SENT back to ‘N’. Once an email is sent to an employee, EMAIL_SENT = 'Y'. Any records that have EMAIL_SENT = 'Y', will not be sent another email until the value is reset.
12. Select an Update Reset Date Annually value (i.e N) (if applicable)
Note: If UPDATE_RESET_DATE_ANNUALLY = Yes the reset date will automatically update to the next year’s date
13. Click the Save button.
![]()