Before creating a report it’s important to decide if you need to create a new report from scratch or from an existing report. If you have a report that you can base a new one on, this will save you a lot of design time. The first step on the New Report Wizard will ask you to make the choice.
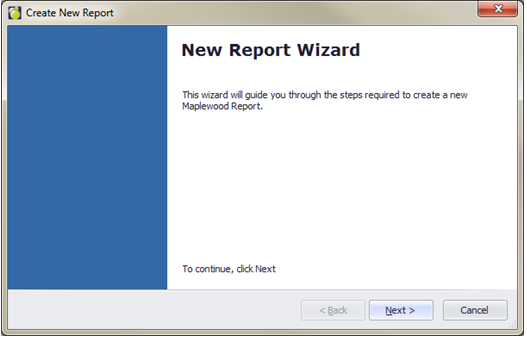
1. To create a new report first choose Marks, Print Report Cards, Report Builder for Report Cards. Now choose File, New Report. The Create New Report Wizard will appear.
2. Click Next.
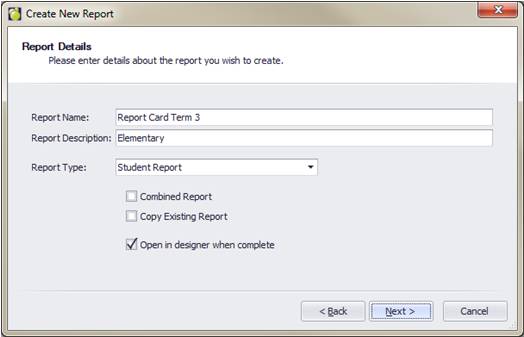
3. Enter a Report Name and Description for your report.
4. In the Report Type drop-down list, leave it set to Student Report, since this is currently the only type available.
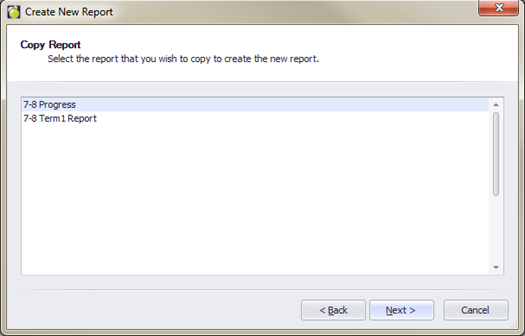
5. When combining one or more existing reports into a Combined Report, check the Combined Report box. If you are making a copy of an existing report (recommended, to save time when creating similar reports), check the “Copy Existing Report” box.
6. If you don’t want the report open in Design mode when it has been created, uncheck the last box.
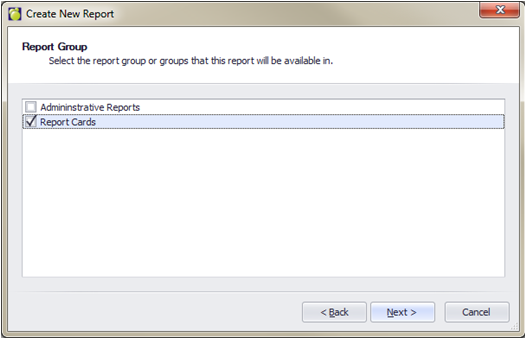
7. Select the Report Group to which to add this new report and click Next.
Review your report details, making corrections if needed by using the Back button and editing, or click Finish.
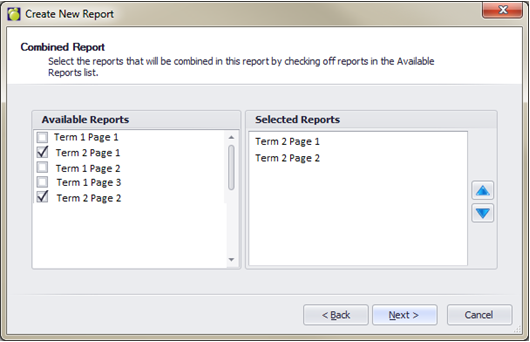
9. If you selected “Combined Report”, you can select which Individual reports to use, and can define the order in which the selected reports will appear in the Combined Report.
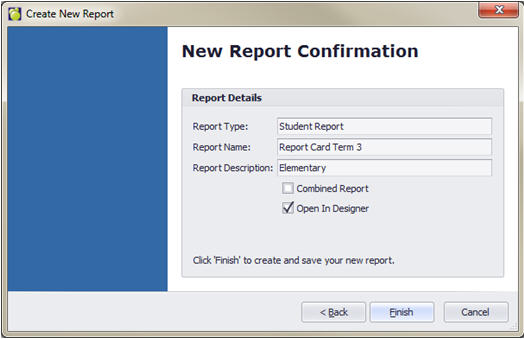
10. Review the information and click Finish to save the new report.