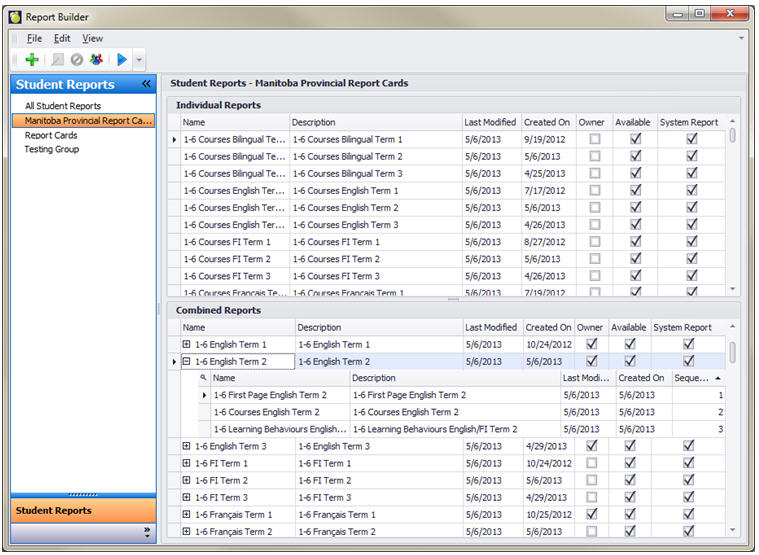
Report Groups are listed along the left-hand side. Click on each Group name to see the reports under that Group.
In the right-hand side, click on the column header to sort the reports by that field. Individual Reports are listed at the top while the Combined Reports are at the bottom.
Report names can be renamed right in this main screen. Click in the Name or Description field and make your changes.
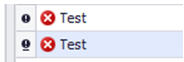
Report Names must be unique. Hover the mouse over the red X icon to see the error message (e.g., Report name must not already be in use).
The Individual Reports are the templates that are built using the Designer. An Individual Report can be run on its own, and can be shared out to schools on its own. Individual Reports can also be used in Combined Reports (below).
b. Combined Reports
Combined Reports are made up of any number of Individual Reports. The purpose of Combined Reports is to allow the user to re-use an Individual Report in multiple reports. For example, two Combined Reports can use the same header page (an Individual Report called “Page 1”). This reduces report design time, as the user has only one report in which to make changes, instead of having to make the same changes in multiple reports.
In the main Report Builder for Report Cards interface, reports can be dragged and dropped into multiple Report Groups, or into multiple Combined Reports.
Individual Reports within a Combined Report can be dragged up and down to change the sequence of the reports within the Combined Report.
c. Sharing Reports
After a report has been created or imported, it can only be run by the entity that created it. This is usually the Central Office, but schools can also create their own reports. Either way, before a report can be used by another school, it must be shared out to that school.
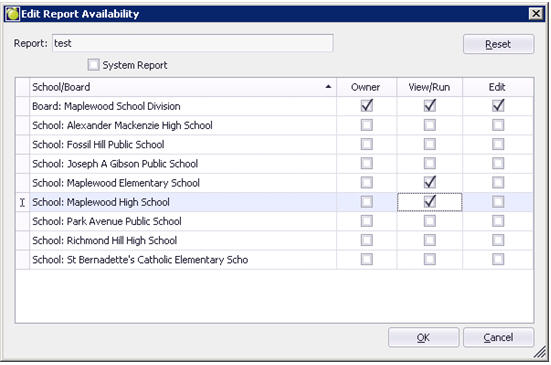
Select the report (Individual or Combined) from the list and click the Share Report button (people icon). Select View/Run to allow a school to run the report, or select Edit to allow another school to edit this report.
The creator of the report is always the owner by default, but the owner CAN set one of the schools to be the owner. The owner can also give as many schools View AND Edit rights as necessary. We do not recommend giving more than one organization (school) Edit rights, but recognize that sometimes it is necessary.
d. Report Groups
Any number of groups can be created, to help you organize you reports. The system group “Report Cards” (as well as “Manitoba Provincial Report Cards” in the Manitoba jurisdiction) cannot be edited.
Edit – Edit Report Groups
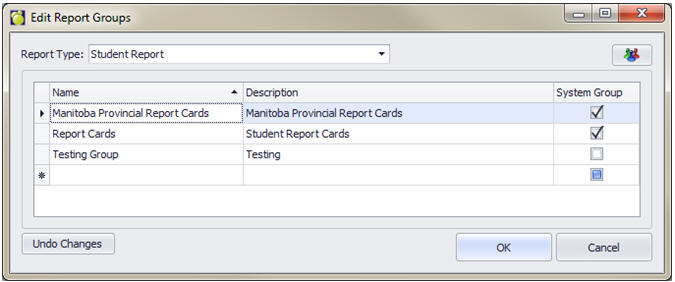
To add a new group, begin typing in the new record line (line with the asterisk). You must enter a Name and a Description. To Share the group out to your schools, select the group from the list and click the Share Report Group button in the top right-hand corner.
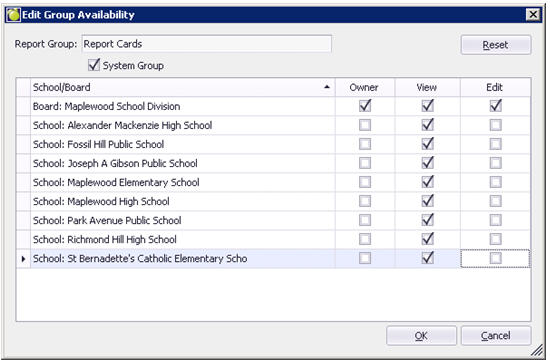
The creator of the group is always the owner by default but the owner can also set one of the schools to be the owner. The owner can also give as many schools View AND Edit rights as necessary. We do not recommend giving more than one organization Edit rights, but recognize that sometimes it is necessary.
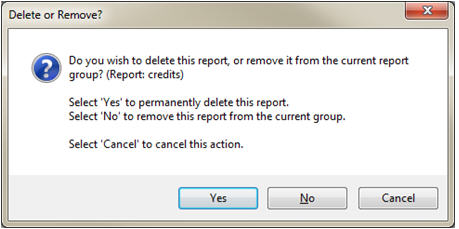
If the user selects a report and hits the <Delete> key on the keyboard or clicks the Delete Report button, the confirmation message box will confirm whether to permanently delete the report (Yes button), remove the report from the existing group (No button), or cancel (Cancel button). Please read the message carefully and respond accordingly.
If a report is removed from ALL groups, but is not completely removed, it will still show up under “All Student Reports”.
Right-click on a report and choose “Show Relationships” to see what Combined Reports it is being used in, and the Report Groups of which it is a part.