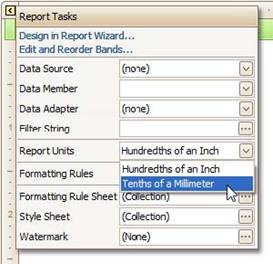
Units of measurement are determined by the report's Measure Units property. It defines the basic measurement unit for all the unit-related properties of the report and its elements (such as location, size, border width, etc.). You can specify either Imperial or Metric settings in the Property Grid or the Report Tasks area.
Note: Be sure that the report itself is the active control when setting these properties. There are four ways to do this:
Click off the report detail onto the grey background
Select the report from the Property Grid drop down list of controls
Select the report from the Report Explorer tab (beside the Field List tab).
Set the attributes through the report's Smart Tag.
Examples:
Hundredths of an inch
50 = half an inch
300 = three inches
Tenths of a millimeter
50 = half a centimeter
300 = three centimeters
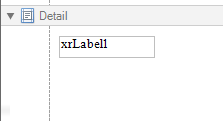
You can easily construct professional looking reports by precisely aligning elements to each other using the snap grid and snap line.
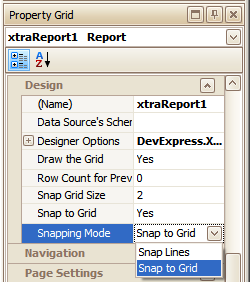
The report snap grid can be enabled via the Property Grid area.
 |
 |
The snap grid can be utilized for precise report element alignment (snapping) when they are resized or repositioned. Adjust the grid size using the Snap Grid Size property.
You can select the preferred mode of report element manipulation, using Snapping Mode property: when Snap To Grid is specified, report elements are aligned by the snap grid. When it is set to Snap Lines, elements are aligned with other existing elements on the report designer. For a cleaner looking design interface, the snap grid can be made to invisible by setting the Draw The Grid property to No.
Specify Page Settings For A Report
In the Report Builder, page settings of a report can be specified in one of two ways. The first approach forces the default printer settings to be used when the report is printed, while the other one enables you to alter page settings independently. You can also modify page settings in Preview mode.
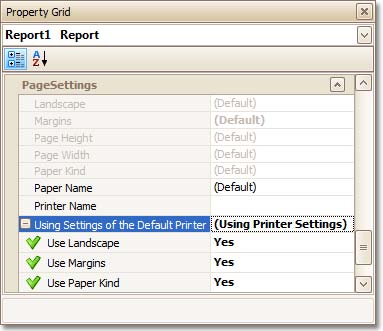
a. Using settings of the default printer
For the orientation, margins and paper size, you can specify a requirement that applies the corresponding printer settings instead of the report's. In this instance, the page properties in the Property Grid are disabled and displayed as greyed out. This may be useful when the report is printed in several places with different printers and printer settings.
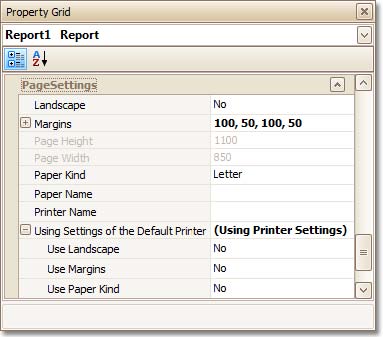
b. Specify the report's page settings
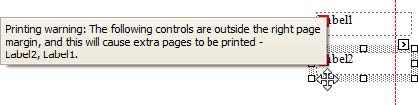
While designing the report, you can set the page orientation and modify the margins settings using the Property Grid. The margin values are expressed in the report's measurement units. You can select from the predefined paper sizes (Paper Kind property), choose Custom and create your own paper size, or select one which is already defined for this printer (Paper Name property). These settings affect the layout of the report's design surface. After their modification, you may notice vertical red warning marks on the outside margins, indicating that the controls go beyond the page width. These warnings can be switched off by setting the Show Printing Warnings property of the report to No.
Note: Select the font for the report. This will ensure that whenever you add a new control, it will have that font. It is important to do this before adding any controls to the report, because changing it part way through may not change all of the controls on the report to have those attributes.
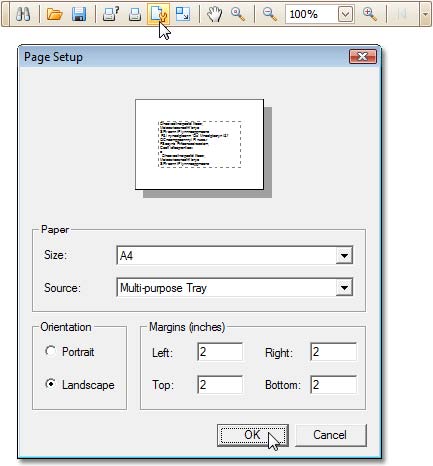
c. Modify the settings in Preview Tab
The report's Preview Tab toolbar has a corresponding button that enables you to modify the page settings. Clicking this button invokes the Page Setup dialog, which allows you to adjust the page layout before printing or exporting, and select the printer.
The margins can also be set visually by dragging the dashed lines in the Preview Tab as needed. To change the measurement units shown in the margins tooltips, customize the report's Measure Units property.