The main purpose of the Report Designer is to create and customize data-aware reports. This means that the report is pulling data from the Maplewood Enterprise database.
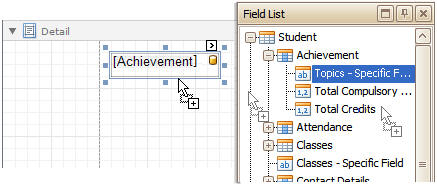
Placing Data Fields – Find the data field you want in the Field List. Drag that field onto the report. When any data field is dragged and dropped onto a report, a new report control is added and automatically bound to the specified data field. Usually, this means there is no need to create a control first. The exception is if you are placing a data field on top of an existing element on the report. For example, if there is a text box with the text "Student Name: ___________" and a data field is placed on top of that text field, then the value of the data field will overwrite the contents of the text box. In this case you would need to place the data field somewhere else on the the page first, then move it to align it with the text box. Data fields are represented by a yellow cylinder for easy recognition.
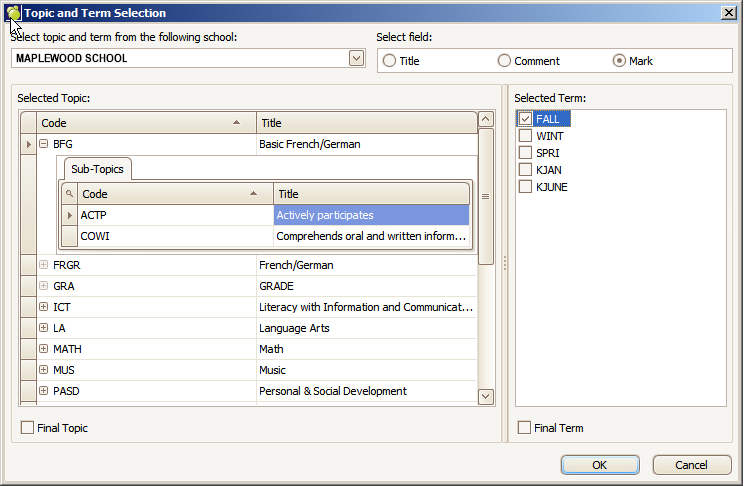
The following example adds a mark in a specified topic to a report.
Select a school:

Select a topic, and subtopic.
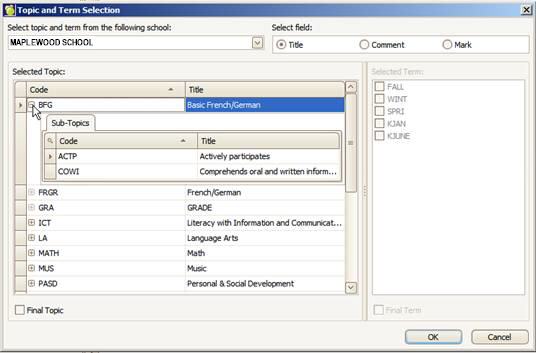
From the Select Field area, click Title, Comment or Mark. Then click a term from the right side.