Scroll to the bottom of the Field List and find Parameters. Right-click on Parameters and choose Add Parameter.
Use the following settings:
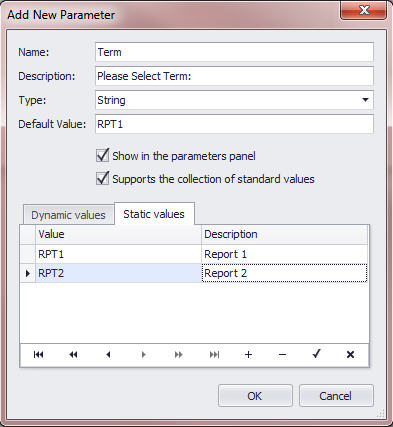
Name: ‘Term’, or something that makes sense to you (‘Term’ will be used in this document)
Description: Text to indicate to the user how they are to use this Parameter (e.g., ‘Please Select Term:’)
Type: String
Default Value: The term code of the default/first term.
Show in the parameters panel: yes
Supports the collection of standard values: yes
Dynamic Values: none
Static Values: Add one value per term that will be used in this report card. Value = term ID, Description = Term Title.
e.g.:
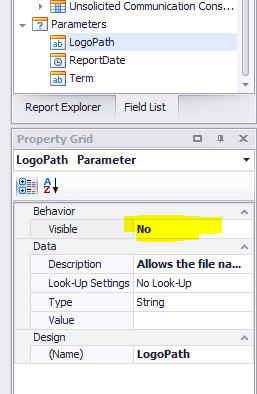
While you are in the Parameters area, find LogoPath and ReportDate and set them both to not visible. You will see the properties of the Parameters in the bottom right hand corner of the screen, if you choose one from the list. E.g.:
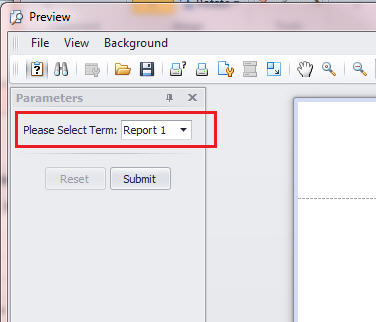
In Report Builder for Report Cards, once the report has been run, the parameter will be available in the top right corner. It will be set to the default value. The user can select the other values from the list then click Submit to refresh the report for the new term. The description appears as the text prompt that the user sees.
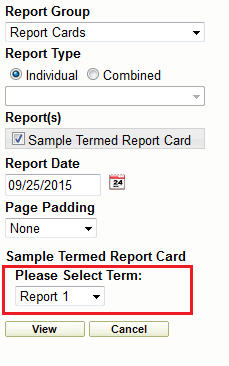
In Maplewood connectEd, the parameter will be available before run time. The user can select the desired term, then select their students then click View to generate the report.
There are several ways in which this parameter can now be used in this report:
A calculated field can be created that outputs different text depending on which term is selected. One example would be to output “Report 1” when “RPT1” is selected as the term, but “Report 2” when “RPT2” is selected. At the top level of the field list, create a calculated field (right click on Student at the top of the list and choose Add Calculated Field). For our example, give the field an appropriate name like “TermTitle”. The Expression would be: iif([Parameters.Term]='RPT1', 'Report 1', iif([Parameters.Term]='RPT2', 'Report 2', '')) There are endless ways to create a calculated field based on the Term parameter. Please contact Maplewood Computing’s support department if you have any questions.
Formatting rules can help you hide something or turn the text transparent if a specific term is selected. For example, if you have two columns of marks, one for Report 1 and one for Report 2, you would leave the Report 1 cells alone, as you want them to print anytime the report is run. However, you want the Report 2 marks to be hidden when Report 1 is selected.
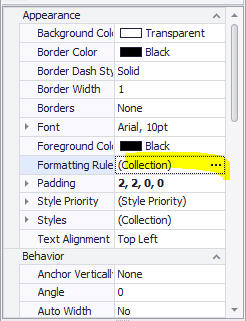
To create the rule, select the first Report 2 mark cell, and find “Formatting Rules” in the list of properties. Click the ellipse icon to begin building a rule:
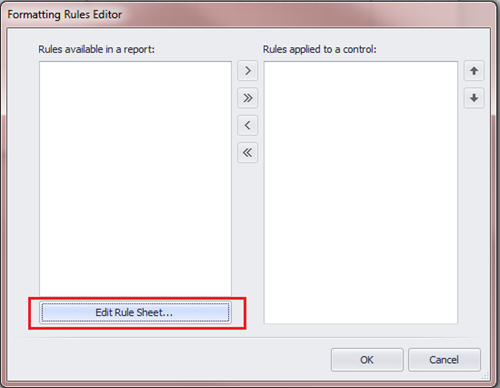
Click Edit Rule Sheet:
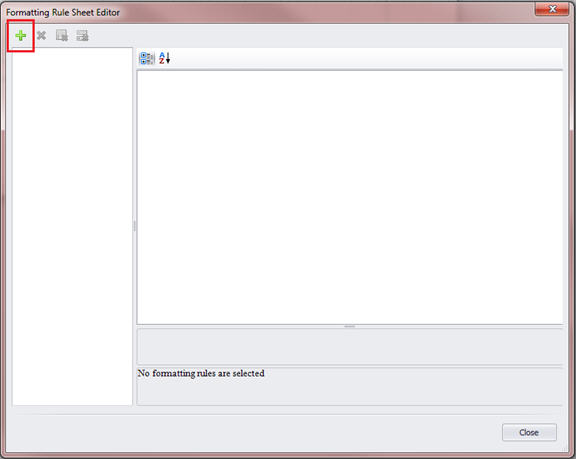
Then click the Add icon in the top left corner.
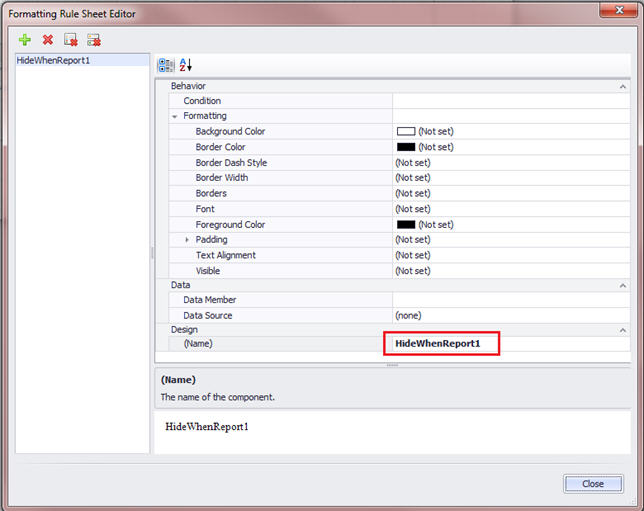
Give your rule a Name that makes sense to you. In this example we will use HideWhenReport1. The name cannot contain spaces.
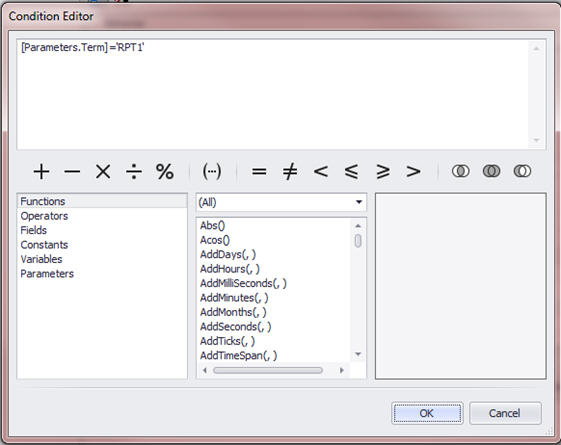
Click the Condition ellipse button to begin building an expression for this rule.
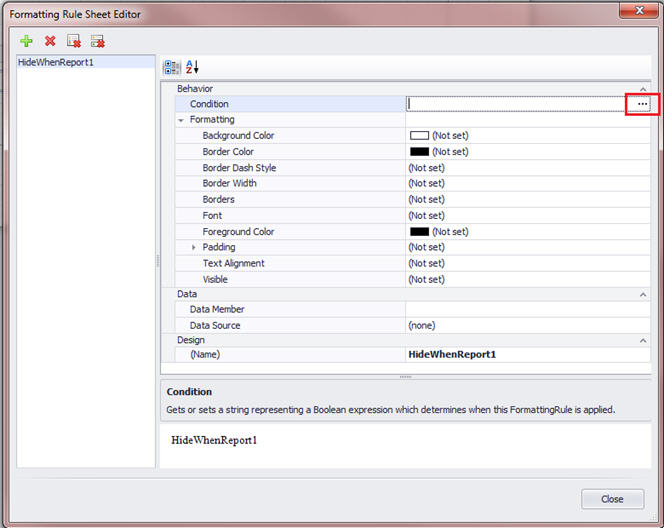
The condition for this example will be: [Parameters.Term]='RPT1'
Back at the Formatting Rule Sheet Editor, choose ‘Transparent’ for the Foreground Colour. Your screen will end up looking like the below. This will cause the Foreground Colour (the text colour) to turn transparent when the selected term is ‘RPT1’:

Click Close.
At the Formatting Rules Editor, you still need to apply this rule to this control (the cell). Choose HideWhenReport1 and click the arrow to move it over to the right hand pane.
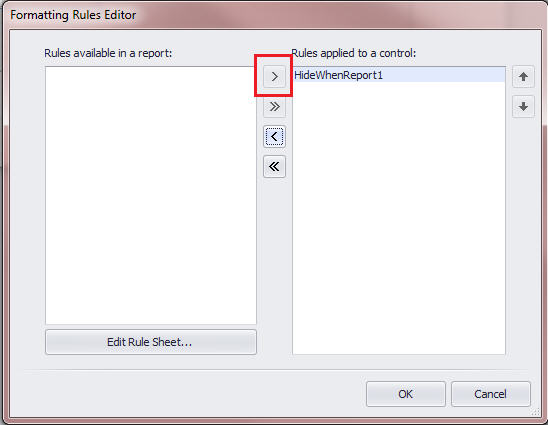
Click OK.
Now that you have created this rule, you can apply it to anything where you want to hide the text if the reporting term is 1. Multi-select all your report 2 mark cells, and click Formatting Rules in the properties. Move this rule over to the right, to apply it to all selected controls.
Test your report out, by selecting Report 1 from the parameter, and making sure that the text in the Report 2 mark boxes disappears.
There are endless ways in which these rules can be used. We could have also set the text of the report 2 mark cells to transparent in the designer, then made a rule to only have the text turn black when RPT2 was selected. In the case where tables and cells are being used, we do not want to turn the entire control invisible because this would remove all borders as well. In some cases making the entire control (e.g., a label/text box) invisible will be appropriate.
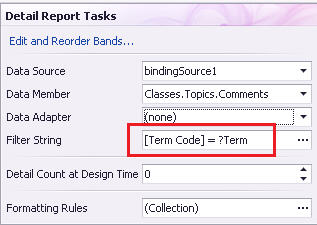
If you have a report that has Classes bands, then Topics bands, with Comments bands under those, you can use the term parameter in the comment band so that it will only pull the comment from the selected term. To do this, create the class band with the appropriate filters, then a Topics band filtering for just the comment’s topic code.
Create a Comments band beneath that, and use this as the Filter String: [Term Code] = [Parameters.Term] The Filter String will end up looking like this:
If you have comment boxes that are pulling a comment from a specific term, you will need to alter the default script to pull from the selected term. Please note, for changes to the scripts to work properly the values in the static list must match your Term codes exactly.
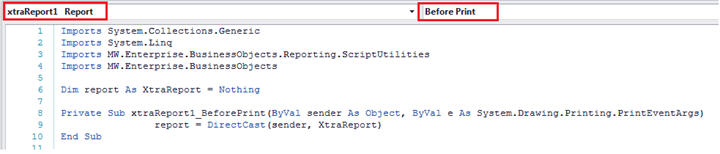
To begin, first set a global script by pasting this text in your Scripts pane, right after all the Import lines:
Dim report As XtraReport = Nothing
Private Sub xtraReport1_BeforePrint(ByVal sender As Object, ByVal e As System.Drawing.Printing.PrintEventArgs)
report = DirectCast(sender, XtraReport)
End Sub
While in the Scripts pane, find xtraReport1 in the first dropdown and then find BeforePrint in the second dropdown. This will link xtraReport1 up with the before print script.
Now find the script you want to alter. In that script, find the text referring to the term code and replace it with this text: report.Parameters(“Term”).Value
For example, the line will end up looking something like this.
Before:

After:

Below are some other specific examples of how the term parameter can be used:
1. Attendance total boxes: hiding and showing text based on the selected term is fine for the monthly or term attendance boxes (use the transparent text method used in this document), but for the attendance totals, you may need to have several labels each with their own rule applied. For example, if there are three terms on your report, you will have to have three text boxes. Set them all to Visible = No. Then, bind each one in the following way:
a. one text box totaling term 1, which only gets set to Visible = Yes if term 1 is selected,
b. one text box totaling terms 1 and 2, which only gets set to Visible = Yes if term 2 is selected, and
c. a third text box totaling all three terms, which only gets set to Visible = Yes if term 3 is selected.
Once you have the text boxes working properly, move them so that they are all on top of one another and in the place where you want the attendance total to appear on the report card.
2. Hiding a “next year’s grade” information box until the last term of the year: create a table containing the desired text, borders, etc. Mark it as visible = No. Apply a rule to this table that only makes it visible if term 3 is selected.
3. Hiding and showing semestered class bands based on the selected reporting term:
a. Create a calculated field at the top level of the Field List, called (for example) ClassSemester.
b. In the Expression of this calculated field, use this text, replacing S1T1 and S1T2 with your term codes for semester 1:
iif([Parameters.Term]='S1T1' or [Parameters.Term]='S1T2', '1', '2').
c. This expression is basically saying: “if the selected term is either S1T1 or S1T2, the value is 1. Otherwise, the value is 2”. You can modify this expression as needed, if you have more than 2 semesters.
d. Create two class bands, one with a filter for semester 1, and one for a filter of semester 2.
e. Create a formatting rule on the DetailReport-Classes for the semester 1 band, to set the band to invisible if the value of ‘ClassSemester’ is 2:
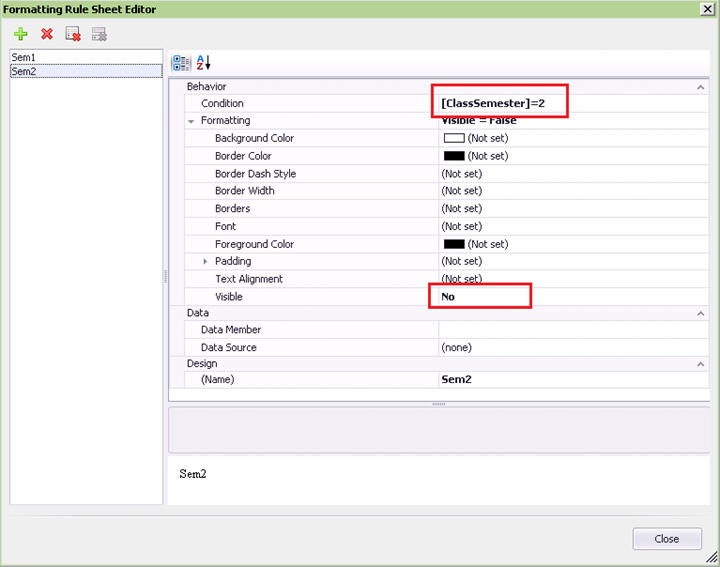
f. Apply a similar formatting rule to the Semester 2 class band, turning that band invisible if the value of ClassSemester is 1.