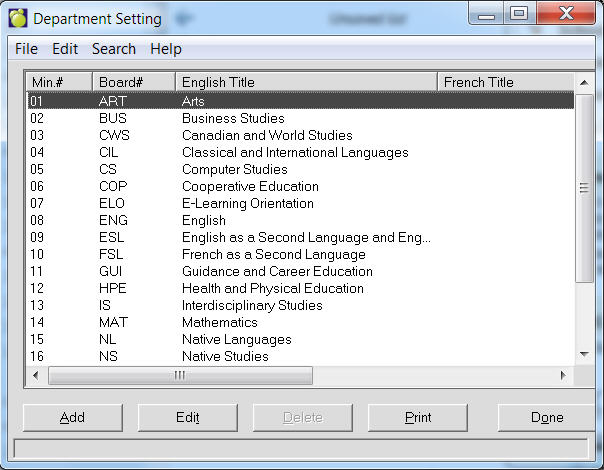
To add Departments to your school, choose File, School Setup, Departments. A box will appear with a list (if any) of departments already set up.
You can edit/add/delete these.
Use the option buttons at the bottom of the screen to add, edit, print or delete Department Settings.
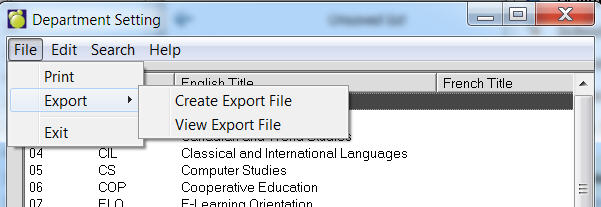
Department Settings can now be exported to a file. To do this, use the menu at the top to select File, Export, Save. Once the file is created, it may be viewed by selecting File, Export, File Export View. The file is in comma delimited format (csv) and includes headers. For hosting customers, if you want to use the file in Excel (as an example), use the View option to find the file and then copy and paste it to a local machine licensed for Excel.
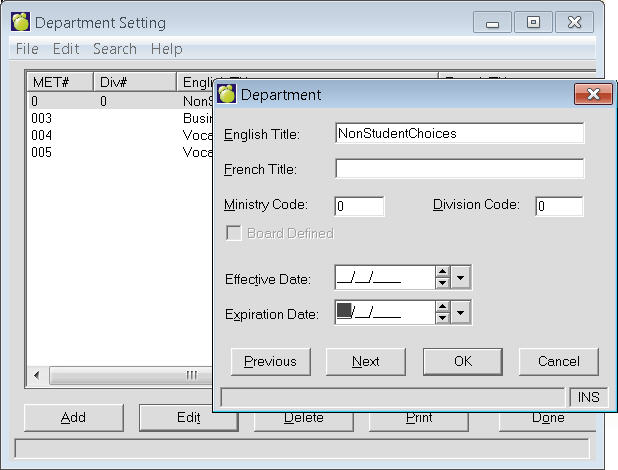
When adding, you can enter the English, French Title and the Ministry Code for the Department.
Online Administration Notes
In the web portal you can prevent students from selecting certain courses. If a school has a master course that students select and then later replace the master course with a number of individual CTS courses. The school needs the CTS courses in the courses file, but doesn't want the students to select these courses as their choices.
It is possible to prevent some courses from appearing in the list of available courses that students use when entering their own choices on the web portal.
Here's how you do this:
