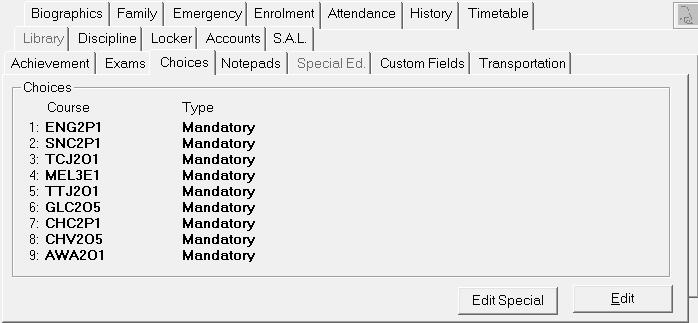
Choose Student Records, select a student, then click the Choices tab.
Approved Checkbox: Use this checkbox to approve Student Choices. Once checked, the approval date and user are time stamped into the program.
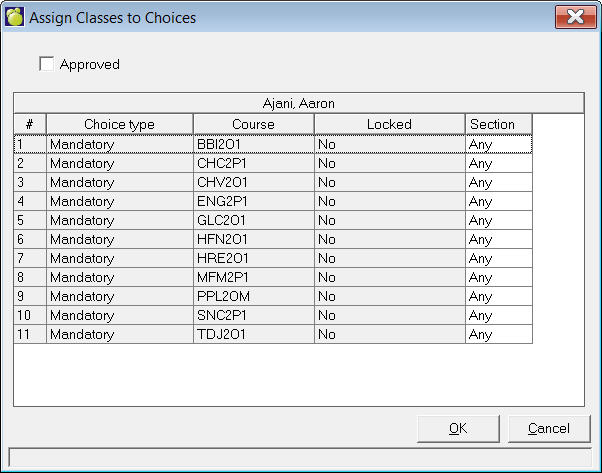
Edit Special - Click the Edit Special button to access the Assign Classes to choices feature. Here you can assign a specific section of a class to the student. The list of student's choices will not include courses that are set as Alternate choices.
Edit - To edit a student's choices click the Edit button. You'll see this Modify Student Choices box:
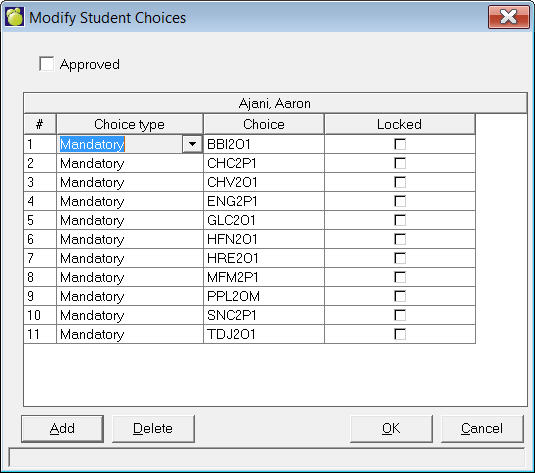
Add - click Add and make a selection from the list. Sections of the class are available by clicking in the Choice box and using the drop-down list that appears. To change a Choice Type click in the cell and make a new selection from the drop-down list (Mandatory, Elective or Alternate).
Delete - select a Choice and click Delete.
Locked Chekbox: A new flag, "Locked" has been added to Students' Choices
This flag, once set, will prevent this choice from being changed in online course selection.
This flag is available in the Individual Edit of student Choices, as well as the option to Add a New Choice through the Scheduling menu. Checking this option means the student will not be able to change their choice entry for that specific choice.
Also, the feature allows for a user to confirm they have approved the choices a student has entered. Checking this box will add an entry that contains the logged in user who approved the choice.