Taxes
Fee Types
Payment Types
Payment Periods
Comments
Source Numbers and Account Limit
Recurring Charges
Contact Person
Deposit/Credit Types
Report Notes
Taxes
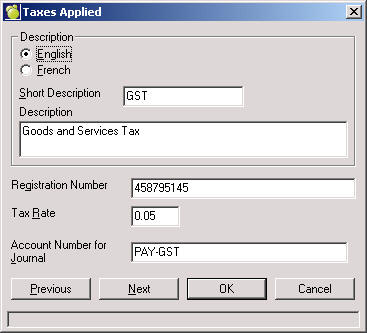
If a school wishes the separate the taxes from charges, this is an excellent setup feature to use.
Choose Accounts, Setup and select the Taxes option and click OK to see an Add/Edit screen. From here you can Add, Edit, Delete or Print.
Fee Types
Fee Types are the charges that can be applied to students. By default Maplewood pre-populates the table with Course Fees (as this is required to take advantage of the automatic accounting features tied to timetables). Please be sure to list all types of fees that may be assigned to students. This table can be edited at any time throughout the school year.
Choose Accounts, Setup and Select the Fee Types option and click OK to see an Add/Edit screen. From here you can Add, Edit, Delete or Print. Here is an example adding a Year Book Fee ($25.00).
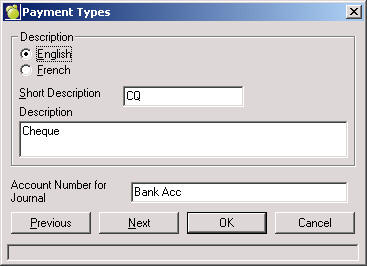
Are used when entering a payment for a student and/or a group of students. It is particularly useful with many of the reports as Maplewood reports on the differing methods of payment defined. By default, Cash is defined. In addition, it is suggested that a school define, Cheque. Additional popular payment types have included Credit Card, Interac, Electronic Transfer and Bursary fund.
Select the Payment Types option and click OK to see an Add/Edit screen. From here you can Add, Edit, Delete or Print.
Payment Periods
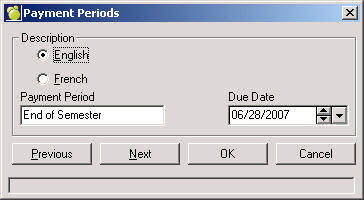
When entering a charge, if a school has set up Payment Periods, consistent due dates can easily be entered. For example, Graduation Fees may be due by May 15th, rather than having to enter that date, a payment period maybe set up. This is designed to be a time saving feature. Additionally, Maplewood has in the background hard coded some intelligence into the Payment Periods and recognizes the dates if Term, Day, Month, Year, Semester, Week, Daily, School Year periods are defined. If a user tabs off of the description and the date field does not become enabled it is considered a match to one of these.
Choose Accounts, Setup and select the Payment Periods option and click OK to see an Add/Edit screen. From here you can Add, Edit, Delete or Print. Use this box to set up payment period terms such as Day, Month, Year, Term and Semester. You will select from this list later on when you are entering Charge and Payment information for a student. For example, you can specify that a fee is due 2 Months due from today.
Comments
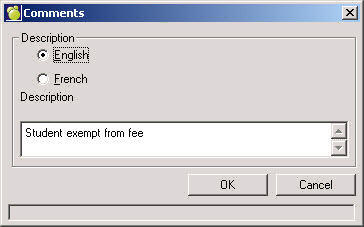
Save some time and enter the most common comments that are entered as they pertain to assigning, editing and paying fees. This setup area establishes a bank of comments pertaining only to Accounts. Of interest, when a charge or payment is edited (adjusted), a comment must be entered. The same is true of a Reversal. Comments set up here can be used later on when selecting from Comment drop-down lists.
Source Numbers and Account Limit
This area of the setup defines student account limits as well as allows for the definition of Invoice, Receipt and Credit Memo starting numbers. Generally speaking, within this area of the setup, schools can define the parameters for their reports.
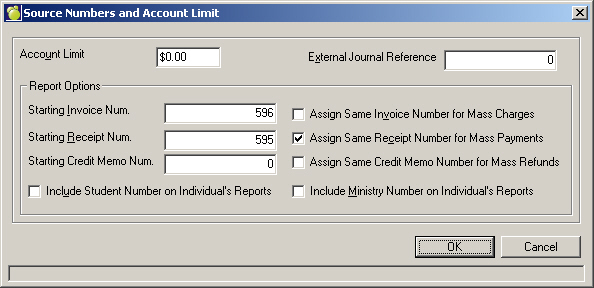
Enter the following information:
Recurring Charges
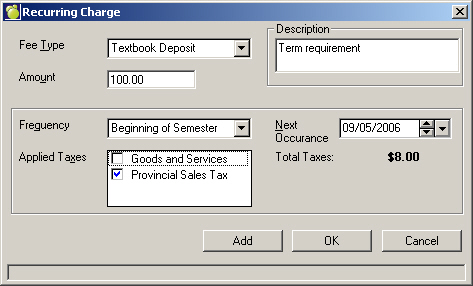
Recurring Charges can be used to set up a pre-defined charge. Please note, this does not automatically assign the charge to the students. After the set up, schools must go under Assign Charges and Payments and set the radio button to Recurring Charges then select the appropriate students.
To record details for a recurring charge, choose Accounts, Assign Charges and Payments. Select the Recurring charge and click OK to see an Add/Edit screen. From here you can Add, Edit, Delete or Print.
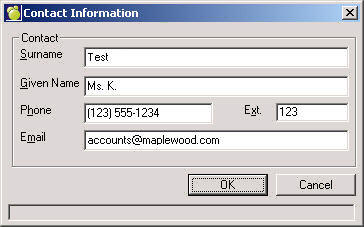
Contacts
When printing certain reports (Account Bill, Invoice, Receipt, Unpaid Invoices) the school contact person will automatically print. By default, Maplewood pre-populates this setup with the Principal’s information and the school phone number.
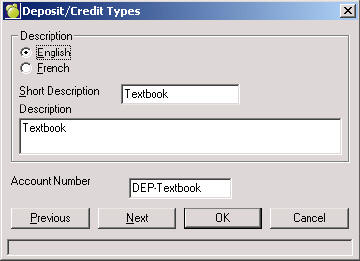
A Deposit/Credit Type is advantageous to school who collect fees which are to be refunded to students. Some example include: Scholarships, Graduation Gown Deposit, Caution Fees, Text Book Deposit. If a school does not collect ‘deposits’ then it is not necessary to use this area of Accounts.
Tip: When entering the Short Description, please be as detailed as possible because this is what appears on the Fee Type setup pull down.
By default, Maplewood defines a Payment Credit. This is what should be used when a student pays more than what is required at any time. It is allows for a positive balance on the student record which is indicated by the numbers in brackets i.e. ($25.00).
Choose Accounts, Setup and select Deposit/Credit Types to define the list of Deposit/Credit Types.
Click Add to enter a new item or select an existing item and click Edit. You can also Print and Delete from within this option.
On the Add/Edit box, enter an English and/or French Short and Long Description, and the corresponding Account Number.
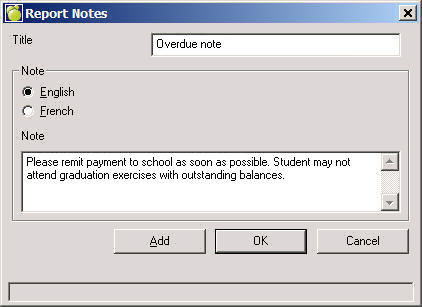
Report Notes
From time-to-time, schools wish to personalize reports going home to individual students. Save time by pre-defining custom report notes which can be applied to Account Bill, Credit Memo, Invoice, Receipt and Unpaid Invoices.
To set up course fees, choose File, School Setup, Courses. Additional functionality exists for course fees, which is especially helpful to secondary schools. Please note, in order to take advantage of this feature, a school must have student timetables and have entered the fee into the courses file. In an ideal situation, first time users of course fees enter the fees under the scheduling area of Maplewood. This enables students to view the fees while entering their choices online through Maplewood connectEd for Students. Consequently, when the school transfers to current the fees are assigned to timetables. From this point onward, whenever timetable changes are made, the course fees are taken into consideration and refunds/charges are automatically assigned accordingly.
Please note, the add/drop grace period depends upon the start date of a class. There for, for second semester classes, the number of days count begins with the beginning of second semester.
When Assigning Fees to Timetable there exists a verification that checks for a fee type of course fees and if a course fee has already been assigned no course fee is reassigned.