Step 6: Change Next Year's Courses and Classes File
Courses File
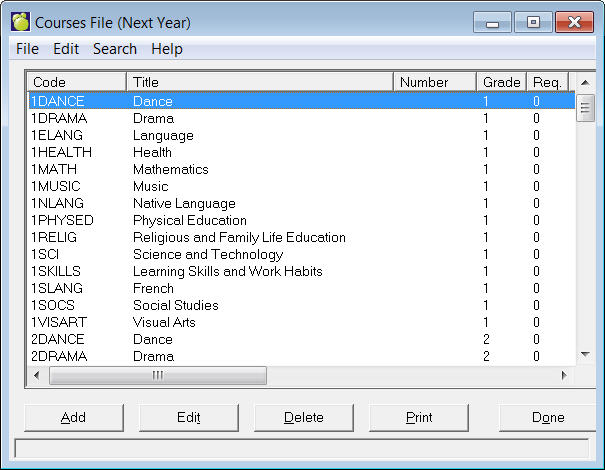
The Courses File is modified using Scheduling, Modify Files, Courses. This box will appear:
The scheduling Courses File is a listing of all the courses offered at your school next year. During the initialization of scheduling, the courses which are currently being taught in your school were copied into the scheduling Courses File. Any courses which will not be offered next year should be removed, and any new courses should be added.
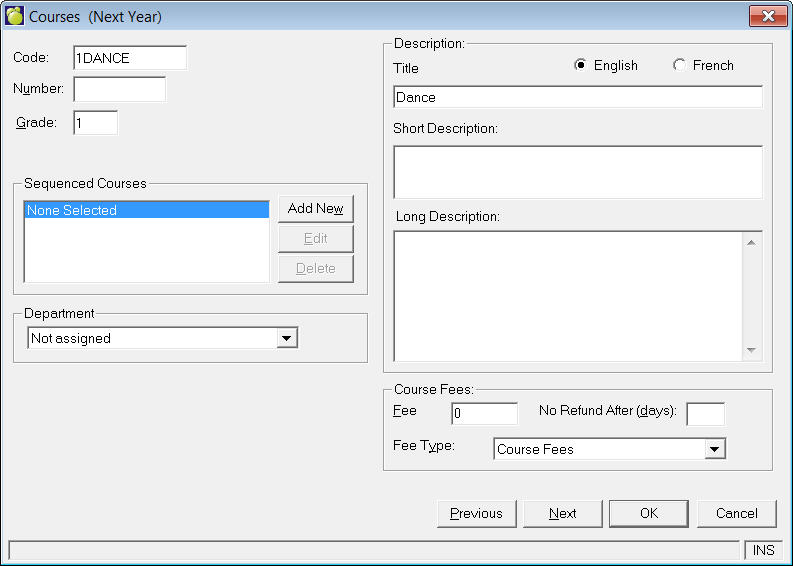
The scheduling Courses File contains this information:
Course Code: The course code may be up to seven characters in length (e.g. MAT8A1F). We recommended that a number indicating the year level be placed in the same character position for all courses. You can then use Inquiry to search for courses and classes of certain grades. For example, an Inquiry search for ***1 would include only the grade 8 courses (e.g. grade 8 courses) providing the course codes were entered such that all the year levels were placed in the fourth character position.
Course Number: The course number may be up to ten characters in length.
Lines/Characters Available in Anecdotal Comment: There are four anecdotal comments that may be entered for each course. Enter the number of lines that should be allotted to each anecdotal comment (a maximum of 10) and the number of characters for each line (a maximum of 78). In this way, the anecdotal comments can be made to fit into specific areas of report cards set up through report builder.
Weighting: The weighting factor represents the work load for the course. By assigning a weighting factor to each course, the work load between semesters may be balanced. The weighting factor may be a number between 1 and 9, but most schools will use only 1 and 2 (1 for junior courses and 2 for senior courses).
Sequenced Courses: In semestered schools, select any sequenced courses that are applicable. The following examples explain the different types of sequenced courses:
Alternate: If course A has an alternate course B, courses A and B may not be taken in the same semester.
Blocked: Use mostly for grade 9 to keep students grouped together in classes during the day.
Co-sequenced: If course A has a co-sequent course B, and if both course A and B are among the courses to be scheduled, course B must be taken before or during the same semester as course A.
Pre-sequenced: If course A has a pre-sequent course B, and if both course A and B are the courses to be scheduled, course B must be taken in semester 1 and A must be taken in semester 2.
Teacher: Used to keep students with the same teacher for 2 or more courses (e.g., if A has a teacher-sequenced course B, and if both course A & B are among the courses to be scheduled, the student must be timetabled into course A and B taught by the same teacher.
Description: Select English or French. Then enter a Title for the Course.
Classes File
Groupings are indicated, new classes are added, and current classes are edited using Scheduling, Modify Files, Classes.
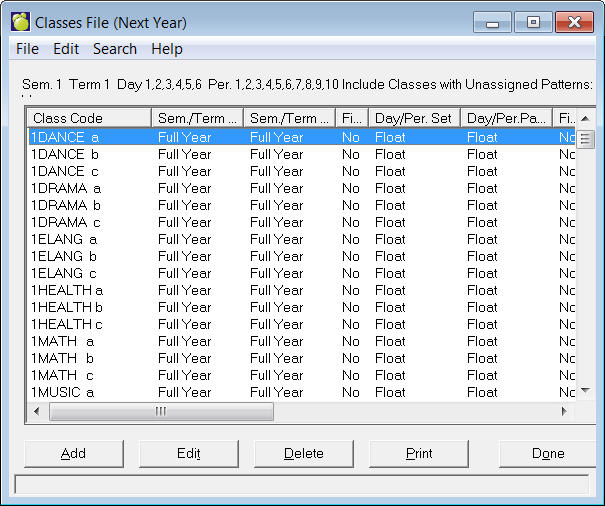
Use this window to Add, Edit, Delete and Print Classes information. Here is an example of an Editing screen:
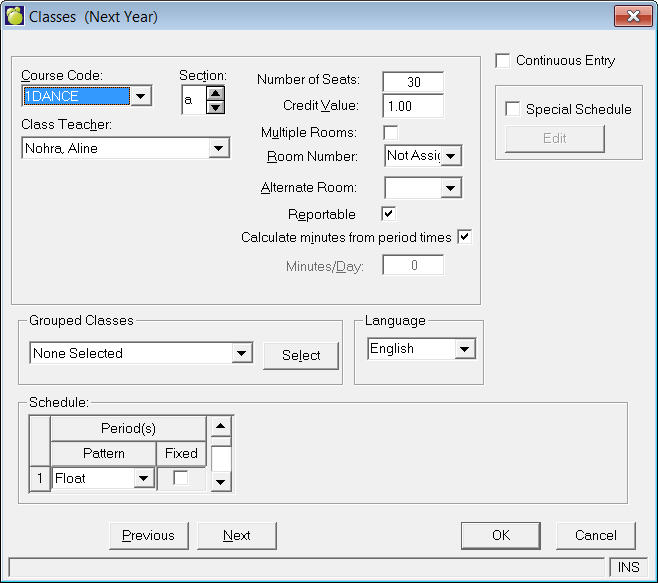
Grouped Classes: Enter the class(es ) taught in the same room at the same time. The computer will consider the total number of students in all classes taught in a room so that rooms are not overloaded with students. If you need to group the class with another one, click the Select button.
Report Card: (Available if the user has access to change Modify Files). Click the Report Card button to set up Weights and Terms. The homeroom must be saved before entering the Report Card setup. Do you want to save changes and setup the homeroom for the Report Cards? If the user selects yes the homeroom must be saved and then the Report Card setup can be loaded. On the Assign Terms and Weights box, click Edit in the Terms frame to enter Weight and Term values, and click Edit in the Topics frame to enter Topic and Weight values.