Payments are monies that a student gives a school (normally to reconcile a charge). Payments can be entered individually or en masse (only through certain groupings). If a school makes an error recording a payment it may be Voided, however this feature is only available is schools have their security enabled. Payments cannot be edited, only voided or reversed.
Payments appear as blue entries on the student record and will appear on Account Bills and other similar reports as a P with their respective receipt number.
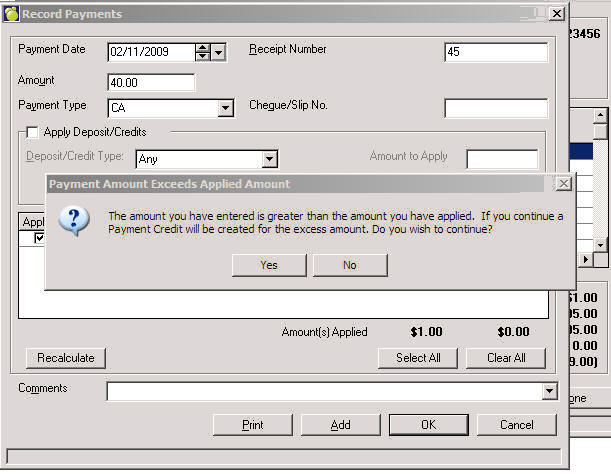
Note: If a student ‘overpays’ a charge, the excess amount automatically becomes a Payment Credit.
When entering the value of a payment, Maplewood will locate the matching value of a charge and 'check' the Apply checkbox to apply payment to that charge. If it cannot locate the matching charge (value), then it will select the charge with the earliest Due Date; however, the school can choose to apply the payment differently. Click the Clear All button and then check the charges and enter the Amount to Apply (partial payments of a charge are accepted). Finish by clicking the Recalculate button and then OK.
The program will refer to the Invoice number in the payment record. Select the student or group, and click the Payment button.
Enter a payment date or use the drop-down calendar.
Enter an amount into the Amount column and it will first try and find an amount that matches this amount. If it cannot find a matching amount it will start at the first transaction (sorted by Due Dates) and apply amounts until there is none left. To apply a payment to a specific charge, click the Apply checkbox beside the desired charges. A payment can also be added and not appy.
Click Print to print a receipt and record the payment, or click the OK button.

Notes: When you create a charge and if there are payment credits it will now ask you if you would like to apply the credits. When you adjust a charge that has a payment associated with it you will get a warning so you can go to the payment to adjust the payment
If a student has payment credits and/or deposits monies from there, it may be used towards a payment. If this area is grayed out (unavailable) then the student does not have any credits.
Check the Apply box.
Select the appropriate type from the drop-down list.
Enter the amount to apply. If the charges that are automatically selected are not the desired charges to apply to the credit, simply check the Clear All button. The check the Apply button for the chare and enter the desired amount in the Dep. Amount column.
Click OK.
Note: Although possible, it is strongly discouraged for a school to edit payments. If an amount has been entered incorrectly, we recommend that a payment be voided. If a school receives an NSF cheque, then we recommend performing a Reversal.
Here are explanations for key fields on the Record Payments screen:
Date
The date will automatically default to the current operating system date.
Receipt Number
If defined in set up, increments the Receipt Number. Users can manually enter an invoice number to correspond with book records if not defined in set up.
Amount
Simply enter the amount to charge the student. There is no need to enter a $ symbol. If the amount entered matches an exact charge, then the amount will automatically be check to apply to that charge. If there is no matching charge, then the amount is applied the oldest charge.
Payment Type
Select the Payment Type from the drop down of user defined entries. This is of particular interest for the Receipt Summary report. Additionally, if grants and scholarships are used as payment types, this is an excellent tool.
Cheque Number
Enter the cheque number used for payment. This is of particular assistance when tracking down bounced cheques.
Apply Deposit/Credit
This check box will only appear if the student has an amount in the deposit/payment credit. If an amount is available in that area, Select the Deposit/Credit Type from which to apply the payment as well as the amount to ‘withdraw’ from that account. Next, check which charges to which to apply the deposit/credit payment.Note: If a payment is added that exceeds the Account Balance, a message will appear that a Payment Credit is to be added.