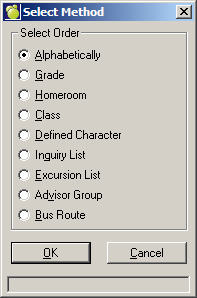
1. Choose Incidents, Incident Reports, Consequence Letter, and select a method from the Select Method box:
2. Select an Order and Click OK. On this box you will select the students to print according to the method you initially chose. This example uses "Alphabetically".
Click Individual and click First to print the first student in the list, or uncheck First and click Select to make a specific selection.
If you uncheck Individual, you will need to make a first in list and last in list selection. Click First to start with the first student, or uncheck First, click Select and make a specific selection. Next, click Last to end with the last student in the list, or uncheck Last, click Select and make a specific selection.
Make your selection by clicking any or all of the options in the Include Students Registered list:
Both this and next year
This year only (not returning)
Next year only
Deleted.

Once you have made your printing selection(s) click OK.
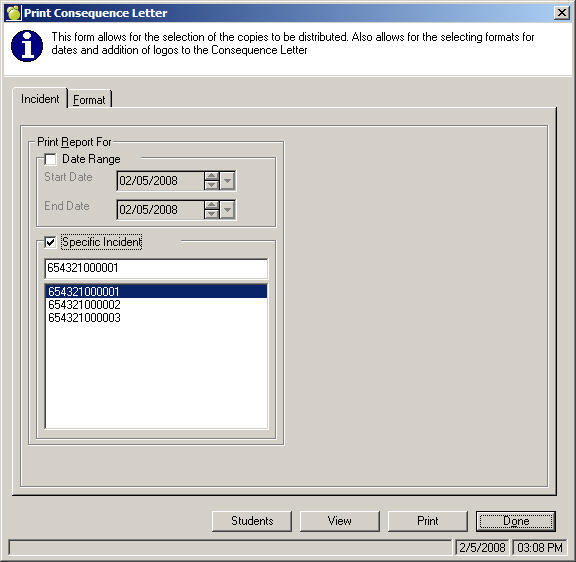
3. Incident Tab
Select the First and Last Report Date. Blow the date range you will see the Incidents. Click the checkbox and select from the list for a specific incident.
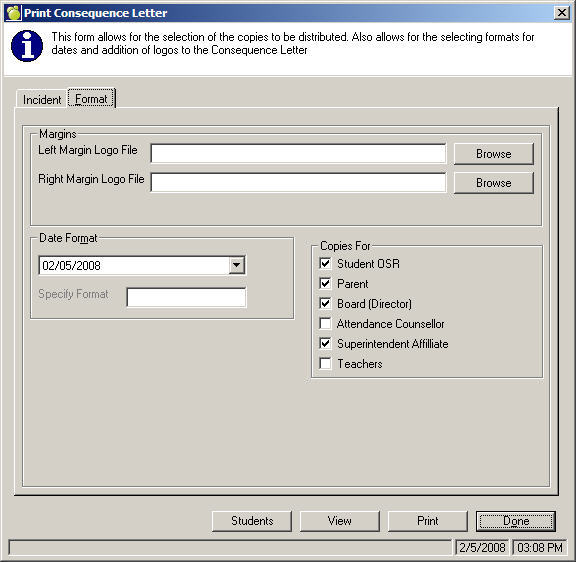
4. Format Tab
If you wish, enter a file location for the Left and Right logo, or click Browse to specify a location. Now select a Date Format from the drop-down list. To enter your own in the text box, select Custom.
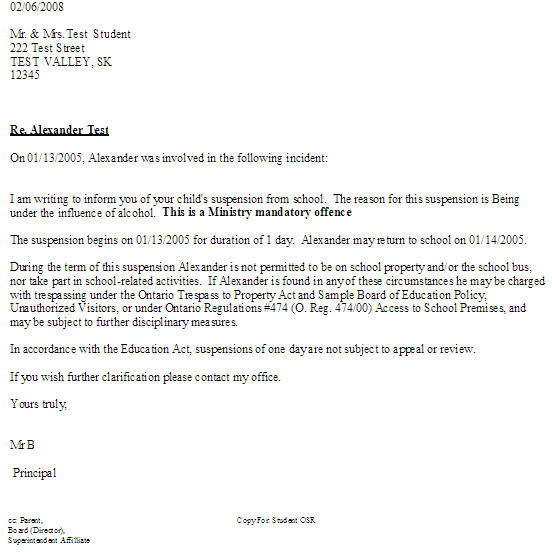
If there is anyone in the Copies For list who needs to see this letter, check the appropriate box(es). The printout below the sample Print Consequence Letter form shows what the letter will look like with the following Copies For categories checked:
5. Once you have made your printing selection(s) click Print, or click View to see the report first.