Report Builder has the ability to email a Report Builder report (in PDF format) to students, parents and/or guardians. To accomplish this, there are two main steps:
- Create the email template (message)
- Send the email through Report Builder (the report builder printout is the email attachment).
The email addresses are derived from the email fields within the students' records on the Family tab.
Technical Note:
Currently, schools must be set to the MAPI client type to be able to take advantage of this feature. Generally, this includes most types of email programs, with the exception of First Class.
Hint: If you don’t have a report builder template that you want attached to your message, create a report builder template that contains your school contact information. The attachment will simply contain your school’s address and phone number, similar to the way some businesses attach “business cards” to outgoing email messages. The “Show Attachment As” could be called your school name.
Step 1. Create Email Template
Choose File, School Setup, E-mail Templates. A list of existing email templates will appear. Click Add to create a new template, or edit to modify an existing template. The template determines the contents of the email message. Since the email may be sent to a group of recipients through report builder, the report builder format is attached to email as a PDF file and, as with all attachments, must be given a name.
The following information must be entered for each template:
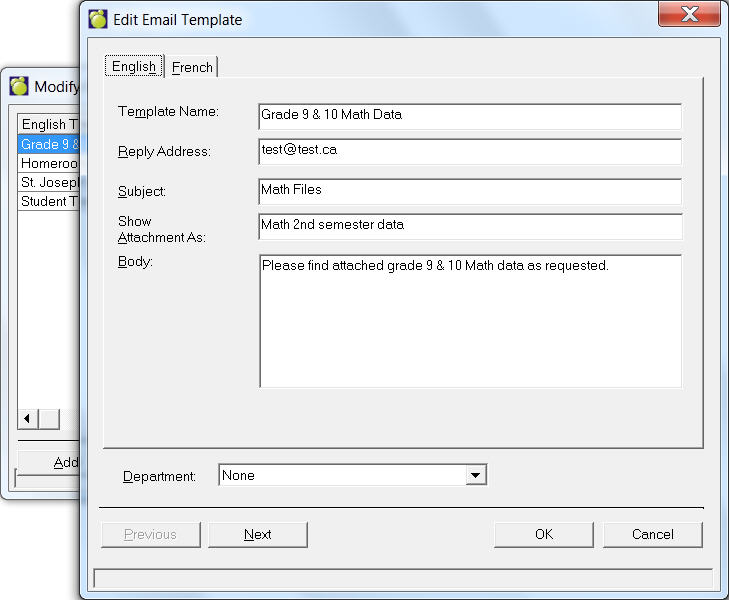
- Specify a name for the template, a return e-mail address, and a subject for the e-mail. The reply address will be used as the “from” address in the e-mail, and the subject will appear in the e-mail subject line.
- The “body” contains the text of the message you are sending. To enter the information for the “body” of the e-mail, select “edit” and type in the content of the main body message. Once finished click the File, Exit or the Close in the top right, when prompted to save the body, select Yes. If you enter {Name}, then the name of the student will be substituted automatically.
- The Show Attachment As refers to how you would like to name the attached PDF file that contains the students’ data. For example, if you are sending home an address verification report, the Attachment Name might be “Address Info”.
- The Department field pulls from the list of established Departments (File, School Set Up, Departments). This may be useful to help categorize email templates.
- Click “OK” and this new template will now appear in the list of e-mail templates.
Step 2 – Send Email Through Report Builder
Report Builder has the capability to save reports as PDF files, and allow the user to e-mail the PDF files based on the e-mail addresses in Student Records. Choose Reports, Report Builder, Reports For Printing, Present Students, open an existing report and choose File, Email Report. You will see an Export Report to PDF Files box similar to this one:

- Select the email template that you want to use. It will default to All Departments. Use the drop-down list to select another department. Click View to review the existing email template.
- Select any or all of the destinies: Student, Father, Mother, Guardian.
- Indicate whether or not to send to duplicate addresses or not (i.e. if the email address if the same for mother as it is for student, should one or two emails be sent).
- Indicate whether or not to save the PDF file after sending. If checked, the PDF files are saved in the IN\Reports\Rebu### folder. Note: Many email programs automatically keep copies of "sent" messages. This option has no effect on your email program.
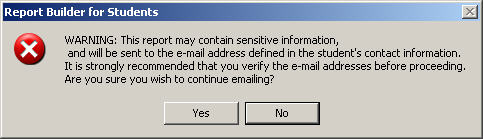
- Click OK and answer Yes or No to the Warning box.
- The standard Print order selection box will appear: Alphabetically, Grade, Homeroom, Class, Defined Characters, Inquiry List, Sorted List, Excursion List, Individually, Bus List or Advisor Group. Select an option and click OK.
- An Email Parameters box will appear where you can specify what student or group of students to print according to the Print Order you selected previously, e.g. If you selected Class (below), then you will be asked to specify the class name, period, etc.
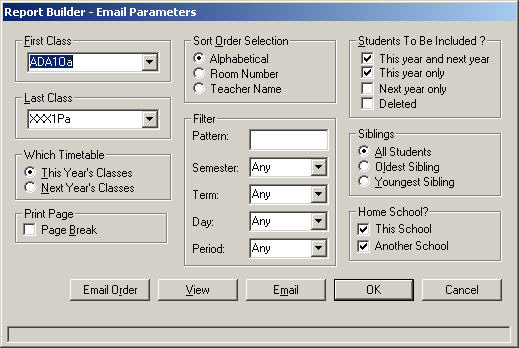
- When you are ready to email the report, simply click Email and the report will be emailed to the previously selected destinies.
- A log will be stored under your Admin/Reports/Rebu000/RBEVENT.log
Note: Currently, you are only allowed to enter text into Email Template with the default font -MS Sans Serif 8.5. Should an different font/size be used, the program will convert the text to Courier 10 when the template is emailed. You cannot copy a Word document into this email Template.