Before you can assign lockers to students, you will need to set up the Locker database. To set up this locker information, choose File, School Setup, Lockers and select one of the following menu items: Brand of Lock, Locks, Types of Locker, Bank of Lockers, Lockers, and Assign Lockers to Banks.
Once you have accessed the main screen for each, you can click Edit or Add to make changes to the list. Click Print to print a copy of the list.
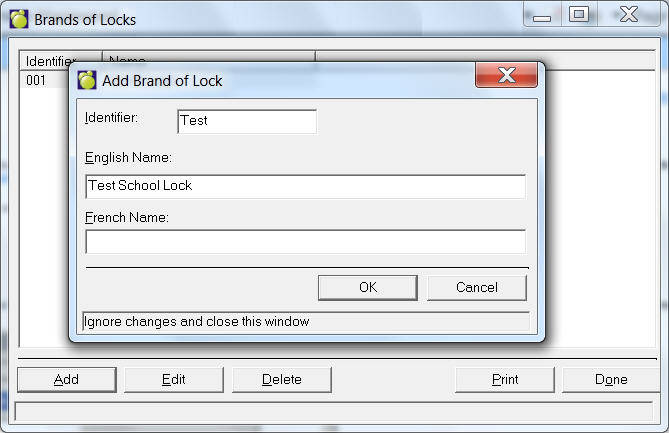
When adding or editing, specify the English and/ or French name of the Locker e.g. Dudley®, Schlage® and an Identifier. File, School Setup, Lockers, Brand of Lock.
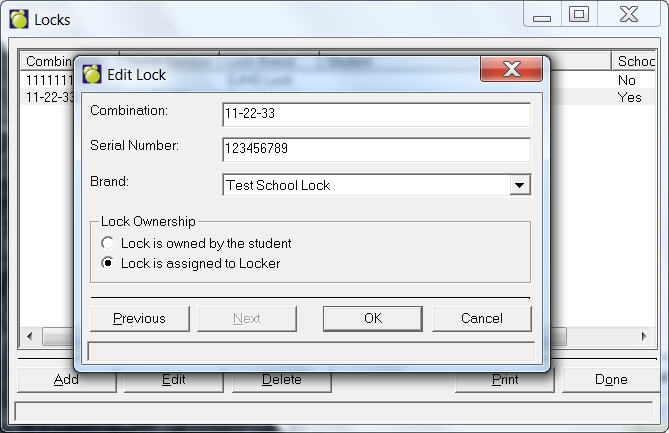
When adding or editing, specify the Serial Number, Combination and select a Brand from the drop-down list. File, School Setup, Lockers, Locks.
If the school owns the lock and it is assigned to the locker, click Lock is assigned to Locker.
If the student owns the lock, check the Lock is owned by the student.
Note: Once the student has been transferred to Past, the student-owned Lock will show up in the Locks table with 'Student is no longer registered in this school' under the Student (name) column.
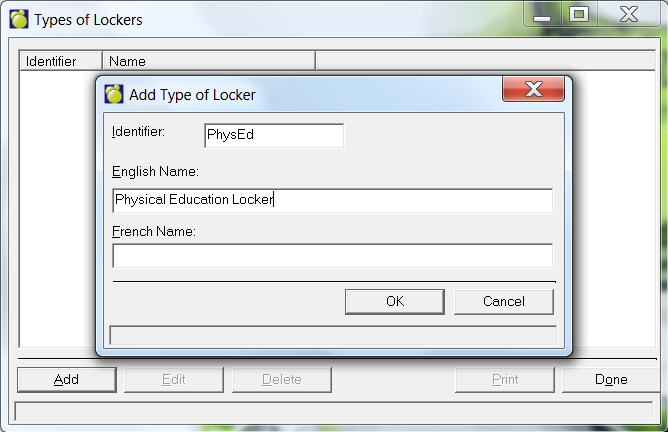
When adding or editing, specify the English and/ or French name of the Locker (e.g. Regular, Oversized), and an Identifier (e.g. a unique number). File, School Setup, Lockers, Types of Lockers.
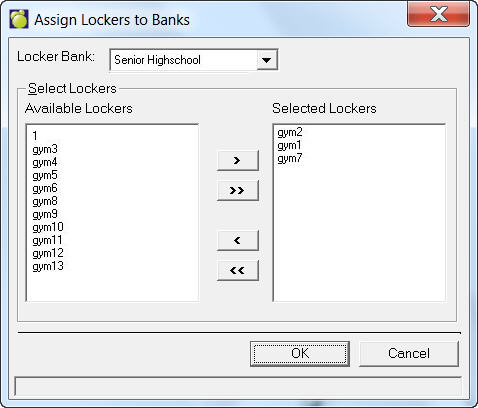
A bank of lockers categorizes a group of lockers, often by physical location. Each locker can belong to a specific bank. In Bank of Lockers, you can specify the English and/or French name of a bank of lockers (e.g. 2nd floor East Wing or Tech Wing) and an Identifier. If the lockers belonging in this bank exist, they will appear in the list of Available Lockers. To indicate that they belong in this bank of lockers, they must move to the Selected Lockers on the right side. To move the lockers, use the single arrow to move the selected individual locker (or double-click it), or use the double arrow to move all of the lockers. File, School Setup, Lockers, Banks of Lockers.

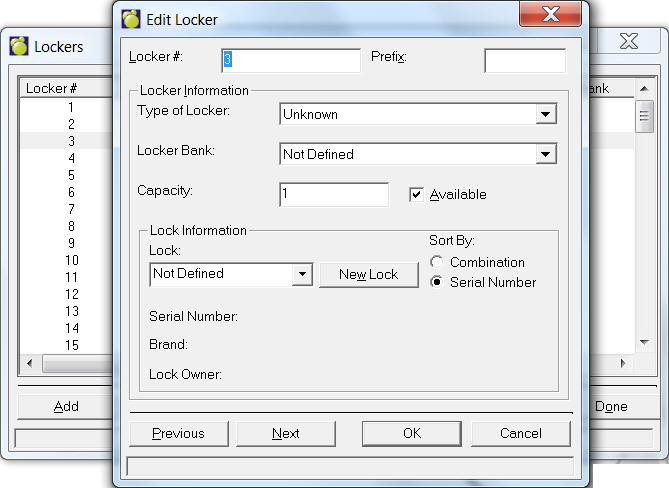
When adding or editing a single locker, specify the Locker Number, Type of Locker, Locker Bank*, and Capacity (e.g. if it is shared with 2 students enter 2). Finally, click the checkbox if the locker is available.
The Available checkbox is unchecked when the capacity of a locker has been reached. Although this can be overrode, we do not recommend it.
To add a group of lockers, use the Add Range button to specify the first and last locker numbers in the range, and change the "Add Increments of" if needed (e.g. if increments of 2, then lockers 1, 3, 5 will be created). Specify the Type of Locker, Locker Bank*, Capacity and Availability. Click OK to create the lockers.

Add range of lockers allows the user to include a Prefix which can be an alphabetic or numeric value, e.g., A100, A101 or 100A, 101A.
*The Locker Bank is a title that often describes the physical location of the locker. If the name of the locker bank is already defined (using Bank of Lockers), then it can be specified as the locker is defined. If the bank is not specified, then it will automatically appear when the locker is assigned to the bank using Bank of Lockers.
Note: fields for Occupancy and Capacity :
- Capacity field - locates students who are assigned to sharing or non-sharing lockers.
- Occupants field - can locate students who are sharing lockers at full capacity.
Assign lockers to a previously set up Bank of Lockers. Select a name fro the Locker Bank drop-down list. Next, select lockers from the Available Lockers list and use the arrows to move them to the Selected Lockers area.
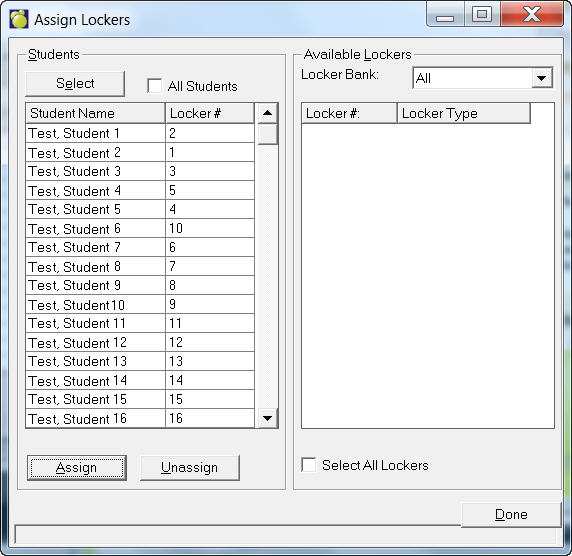
Lockers may be assigned automatically to a group of students using the Assign Lockers option, or entered manually through the Locker tab in the student's record. First you will have to set up Locker information by choosing File, School Setup, Lockers. Once you have set up lockers, you can assign students to lockers using the method outlined below:
Notes:
- some schools have lockers with the lock
- some schools will have lockers without locks and students are getting their own locks.
Validate Lockers
Choose File, School Setup, Lockers, Validate Lockers.
This feature addresses issues whereby lockers were “orphaned” in the database. These lockers appeared to be available, but behind the scenes they were occupied. Verify locker assignments will resolve issues with multiple lockers having been assigned to students.