To access Locker information for an individual student, choose Students, Student Records (select student), click the Locker tab. You will have access to the same information as choosing File, School Setup, Lockers, except that you will be looking at the one student you selected.
Information in the Locker tab is entered either manually through the Edit button on the Locker tab or assigned automatically to a group of students by choosing Students, Assign Lockers.
The list of available lockers must be set up prior to assigning lockers to students. To set up student locker information, choose File, School Setup, Lockers.
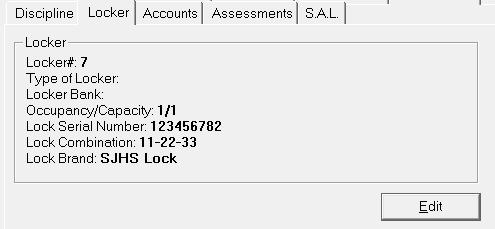
When you have finished setting up your locker information, you can enter the student's locker information by clicking the Edit button on the Locker tab. See below for Adding and Editing Locker information.
To add or edit a student's locker information, click the Edit button on the Lockers tab to see an editing box:
Note: The options in the drop-down lists are set up by choosing File, School Setup, Lockers.
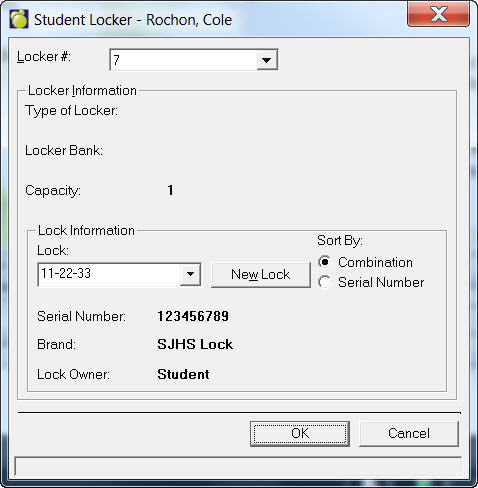
Select a Locker Number from the drop-down list. The Type of Locker, Locker Bank and Capacity will automatically appear. If you change the attributes here, they will be reflected in the locker setup as well.
The user is unable to flag a locker as Available in Edit Locker, in the locker table. The program will inform the user the name, or names in case of shared lockers, to whom the locker was assigned.
The only place a locker can be made available is in student records. In this case, the user is also required to unassign the lock, should the lock be made available with the locker.
First click the Edit button on the Lockers tab. Select a Locker # from the drop-down list and then specify Lock information from the Capacity frame.
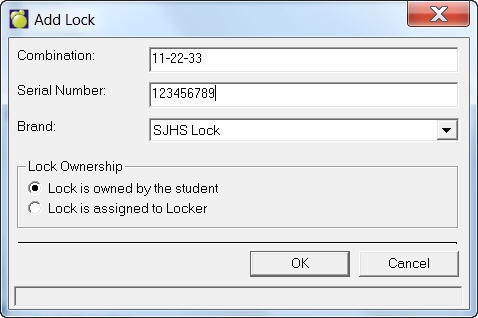
You will see a New Lock button that you can use to enter Combination, Serial Number, Lock Ownership and Brand (the Brands are set up by choosing File, School Setup, Lockers, Brands of Locks).
Notes:
- If you want to add a New Lock to a student who has a locker with a lock assigned to it, you must first change the assigned locker attributes before you can use the New Lock button.
- The program does allow the user to change the Lock for that student in student records. However, this change will not reflect for the Locker. This is by design for the following reasons:
Lock is assigned to locker:
is defined in Add Lock of Add Locker (individually),
is stored in the lock tables and not the student record,
and is never removed from the set up tables unless the user deletes the record.
Lock is owned by the student:
is defined either in the Add Lock or in the Student Record when you click the New Lock button,
when you click the New Lock button, the lock is 'added" to the locks table and remains in this table until the student is deleted (deleted, moves to past) because the lock is actually stored in the student record not the set up tables,
when you run Transfer to New Year and have Initialize Lockers checked, for any Lock assigned to the student, it remains in the record. However, the student is no longer assigned to the locker and the locker is therefore removed from the student record.