Then, click Select:
Any number of curriculum items can be linked to any number of markbook items. The curriculum linking (steps 1 and 2 below) can be accessed through either the Class Markbooks or Individual Markbooks screen. The summary (step 3) can only be accessed through Individual Markbooks.
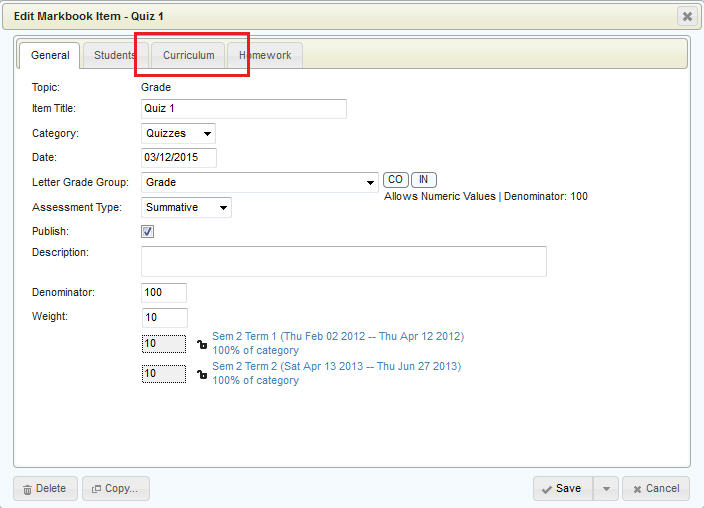
Curriculum is linked to markbook categories or markbook items, and is accessed using the Curriculum tab available when either adding or editing the category or item. If unfamiliar with adding/editing markbook items or categories, please see Setting Up a Markbook.
1. Edit an item or Category, and choose the Curriculum tab:
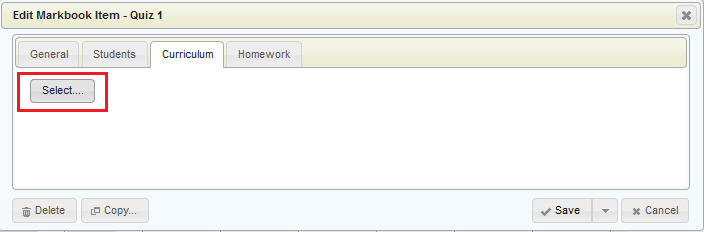
Then, click Select:
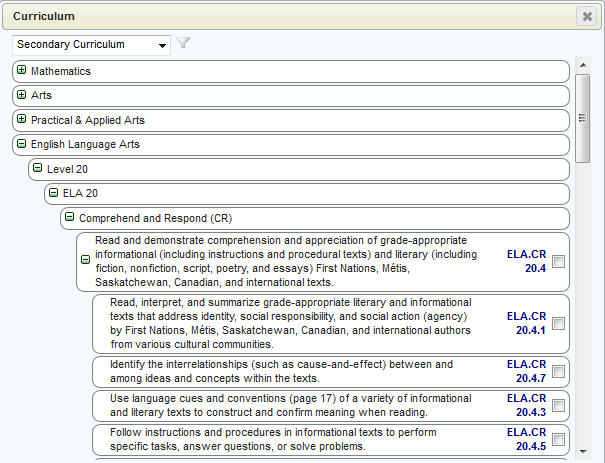
2. Choose either Secondary or Elementary Curriculum, then drill down and check the box or boxes corresponding to the curriculum item(s) you wish to use. Click Save when finished:
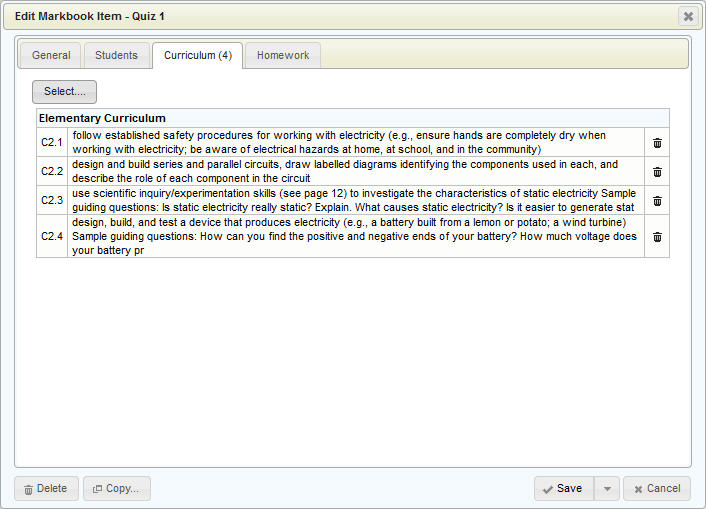
Click Save when satisfied with your selection. The selected curricular items will appear on the Curriculum tab (as shown below), and if an item is to be removed, click the trash can icon (in the far right column):
Upon saving, items with curriculum linked to them will now show a small arrow icon as shown below in the Marks/Comment by Student interface in the example below. Clicking the arrow for a markbook item will show the curriculum linked to that item.
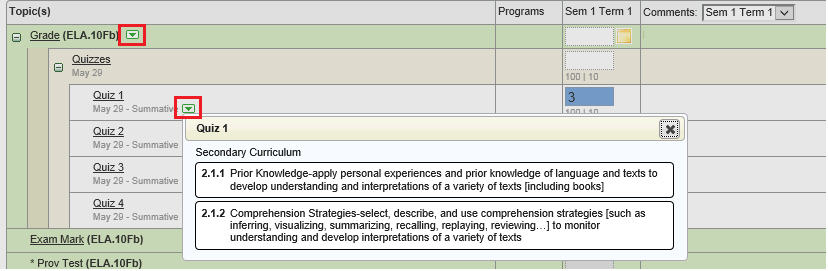
The curriculum for the markbook items (as shown above), also appear in the Marks/Comments by Class interface.
This next feature, is only available in the Marks/Comments by Student interface, as the curriculum arrows for the topic/subtopics (e.g. report card marks) are not available in Marks/Comments by Class. Clicking the arrow beside a topic/subtopic (Grade in this example) will expand or and collapse the curriculum details. For example, clicking the green down arrow in the above image will expand to show the information in the image below, and clicking the arrow again will collapse it.

In the above example, the Topic Grade shows 4 markbook items that also have curriculum items linked. Two items for this student were evaluated at 3, one item received a 4, and another item was evaluated at a 2. The next line shows a visual bar representing the frequency of each mark. The mark 3 represents 1/2 of the bar while the mark of 4 is 1/4 of the bar, and the mark 2 is 1/4 of the bar. This visual representation may help the teacher determine the report card mark for the student, or determine if the calculated topic mark is appropriate (and whether an override is desired).
The curriculum area may also help teachers better understand the frequency of assessment items for each curriculum item (e.g. 2 assessments were done on curriculum item 2.1.2).
It will let the teacher better understand a student's strengths and weaknesses in the curriculum content (e.g. the student can use some assistance with curriculum item 1.2.1).
Note: only the marks linked to curriculum appear in the curriculum area, and therefore, the visual representation may not consider all markbook items.
To make the curriculum results more visually appealing and easier to read and interpret, each letter grade value can be assigned a colour. The school office must set this up when they define their letter grade groups. In the example above, the school has a letter grade group that only contains the values 1, 2, 3, and 4. Since they are defined in a letter grade group, each level can be assigned a colour (4 is green, 3 is blue, 2 is white (no colour)).
The curriculum information will display with the colours regardless of whether or not the teacher has selected “Display Letter Grade Colour Coding” in the Options screen for the markbook. The option controls whether or not to show the colour coding in the actual markbook mark cells.